


Make a Poser/Daz Character Clothing Guide in Blender
That looks like this:
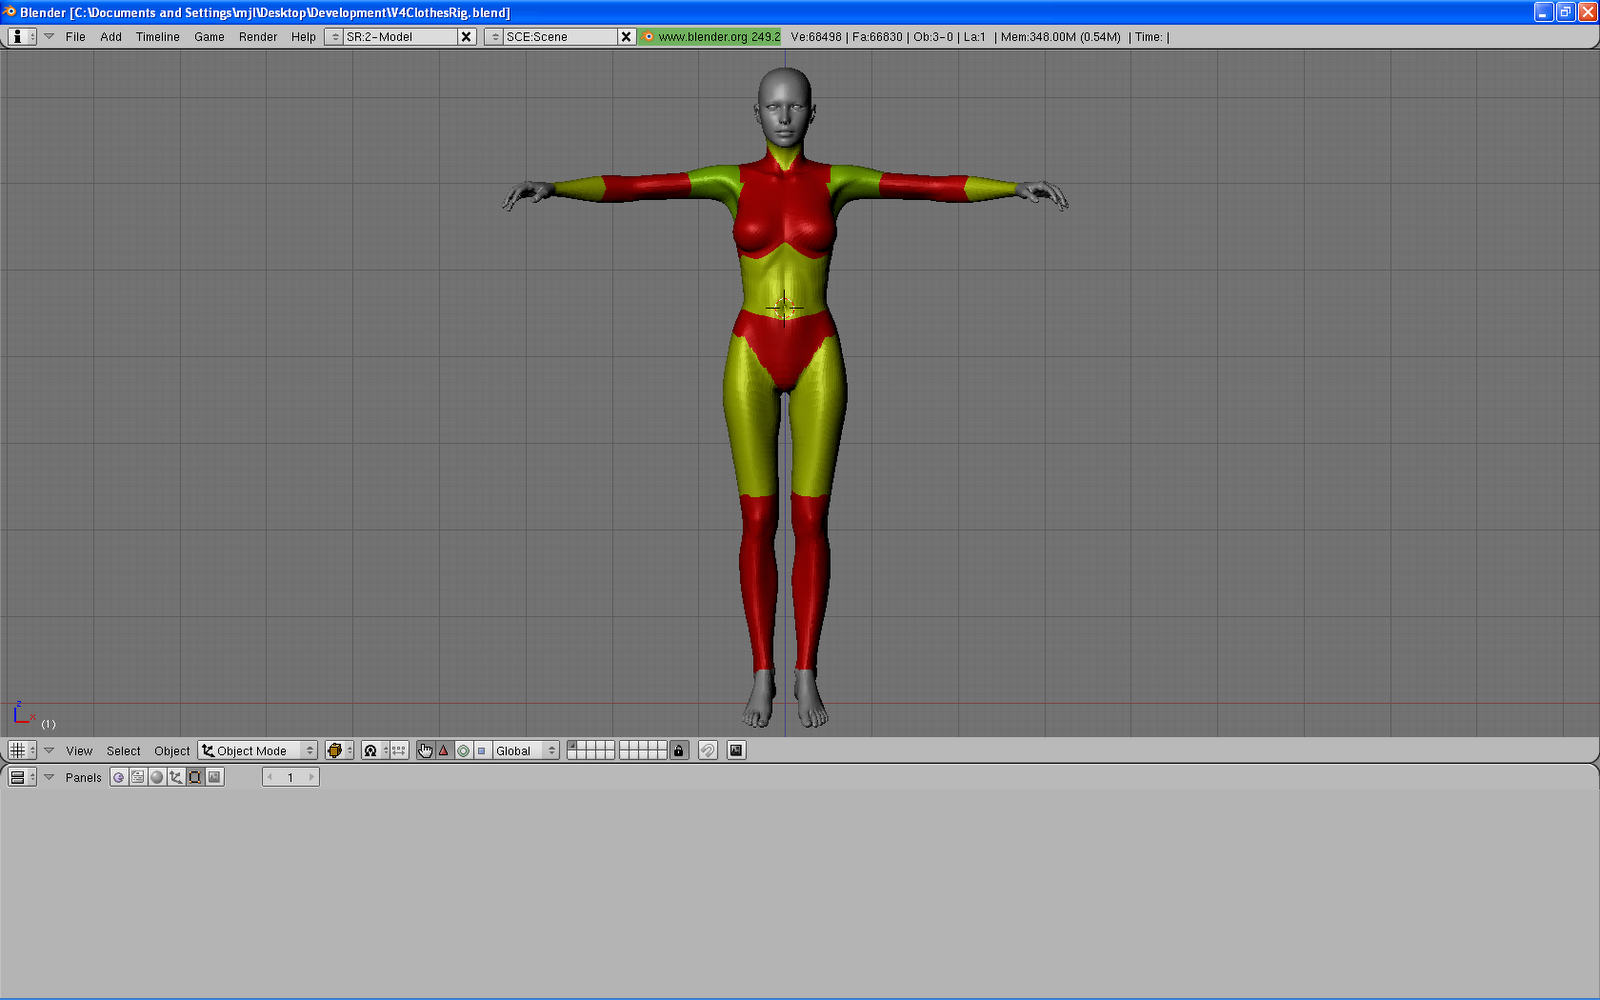
1) File->Import->Waveform OBJ (Options – Polygroups, Vertex Order)
– NOTE: The import/export option “Polygroups” and “Vertex Order” is key for getting the groups in/out from/to Poser!
2) Delete Cube
3) Zoom in on Character
4) Place Cursor inside Character
5) Select Charater Object
6) Delete all Materials (Link and Materials button area)
7) “New” material (not sure why this step is needed…)
8) TAB to Edit Mode
9) AKEY to deselect all
10) Pick and “Select” desired Vertex Group
11) “New” material
12) Go to Shading (F5)
13) Change Material Color using Sliders
14) Return to Editing (F9)
15) REPEAT as needed, back to Step #9
NOTE: If you alternate colors, after making 2 material colors, you can just select the alternate color material instead of steps #11-14 which saves a lot of time!
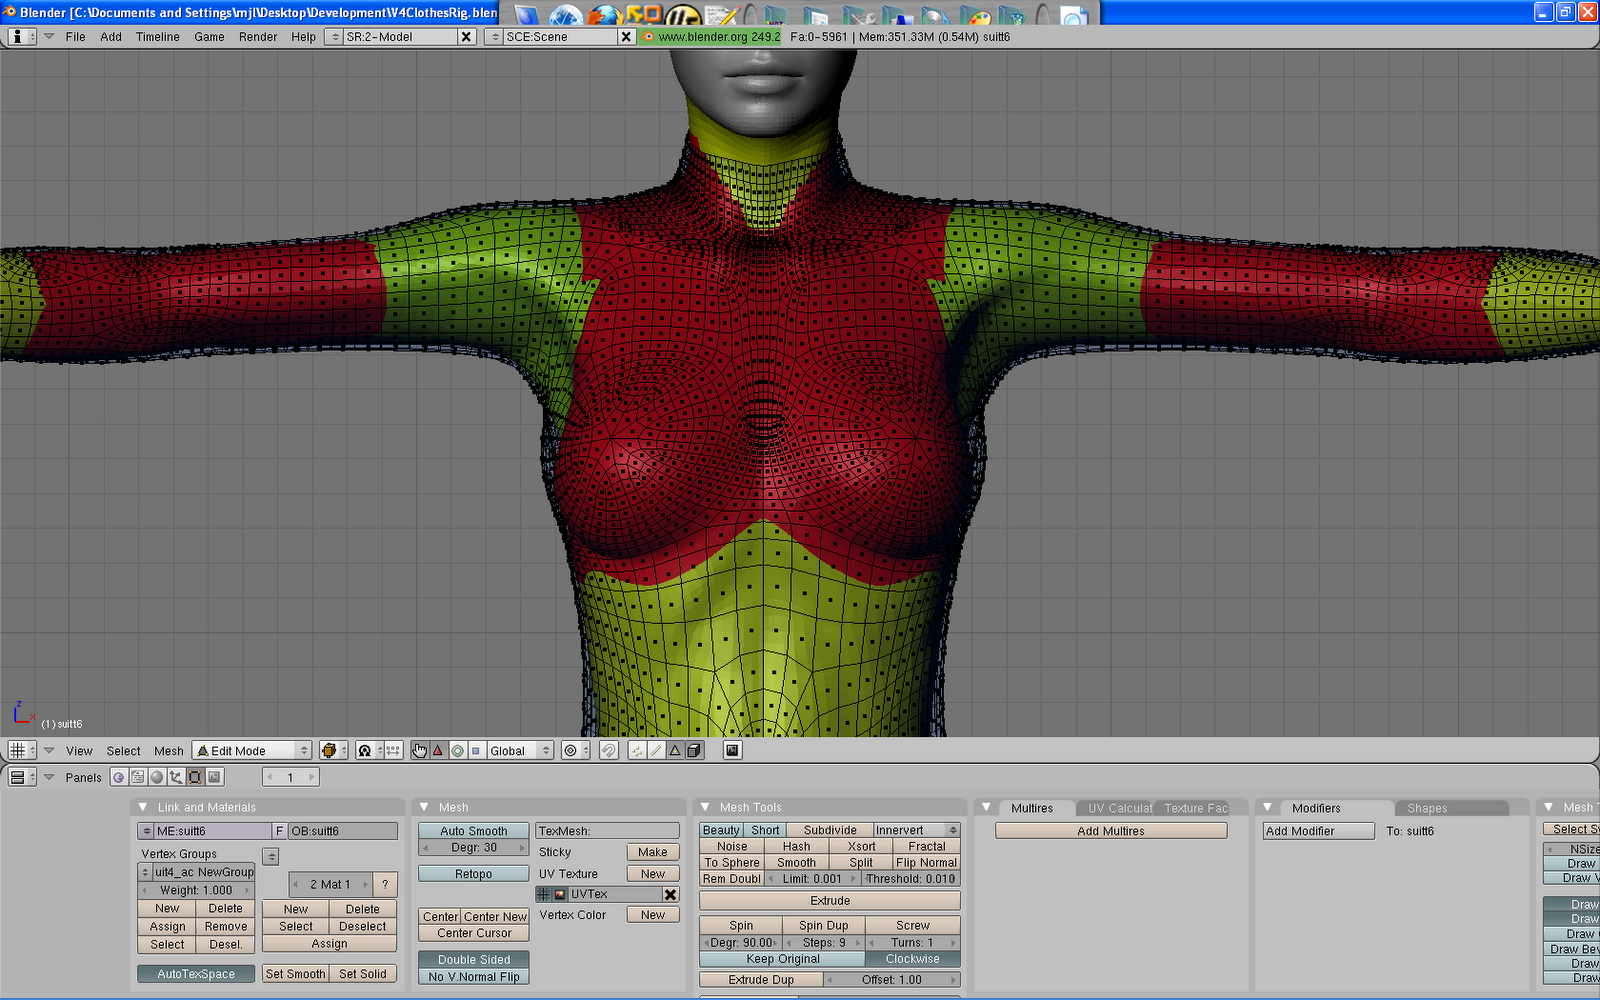
Now you can import your clothing OBJ, change it to wireframe mode (so you can see the clothing rig below it) and start grouping (vertex groups)! Blender has box, circle, lasso, one-by-one, edge and face selection tools. It also allows you to occlude the background too, so you don’t select through your mesh (i.e. select the back when trying to get the front) When your done and export, make sure to select the options, polygroups and vertex order, again.
Like this!
Thanks to Paolo it looks like for the Blender import/export functionality: [LINK]
@pjz99 also made a cool rig template for V4, more can be found about it HERE